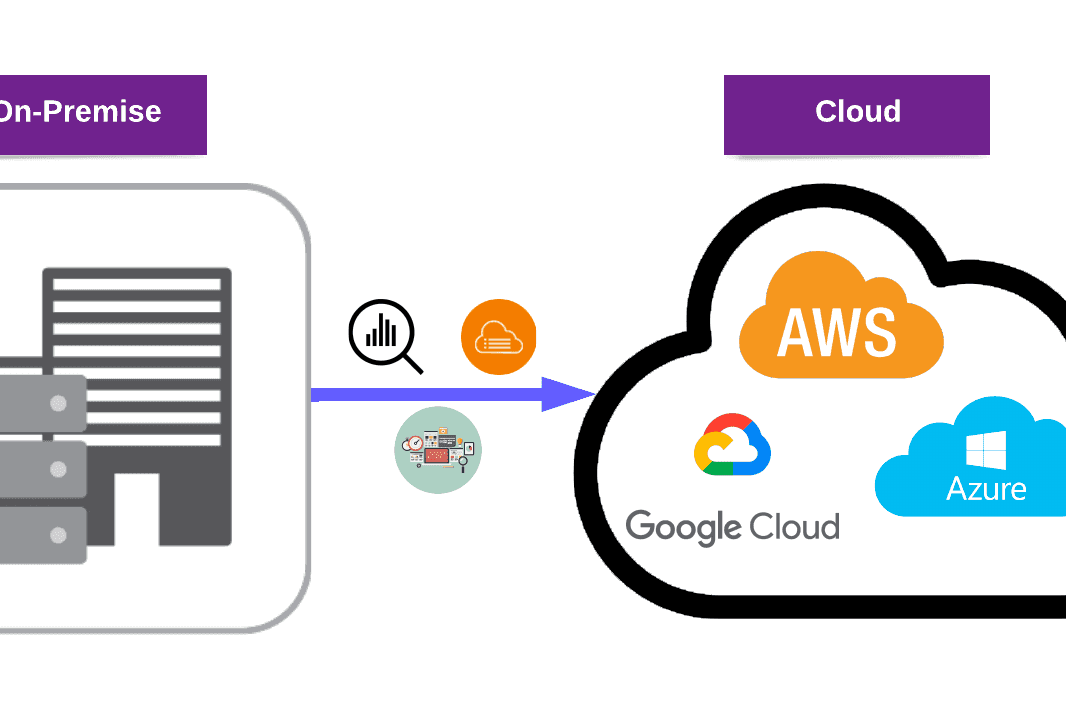
In software development, serverless is an increasingly popular approach. Today we will talk about AWS Serverless Architecture, Front End Web Development with the popular JavaScript library ReactJS, and some serverless AWS Services.
So, we’d like to introduce these concepts with a real-world project that is simple, yet informative, and has helped everyone to understand the basics of AWS Serverless Architecture in cloud-based projects.
In this blog post, we will have a look at the prototype human resources management application that we have developed. Let’s dive into the details.
Using serverless microservice patterns: PurpleHR
We named this application PurpleHR. After providing general information about PurpleHR, we will be focusing on two main functionalities. Each of these functionalities is implemented by using two different serverless microservice patterns:
To learn more about these serverless microservice patterns, you can read Serverless Microservice Patterns for AWS article written by Jeremy Daly.
- The first one is a custom REST API, named AdminActions. We will use this name throughout the article. In AdminActions API, we will provide extra operations on other users such as update/delete user information, and enable/disable operations to Admin users of the application.
- The second one is a custom GraphQL API that we will use for managing application data such as birthdays, phone numbers, and certifications of the employees. We named it EmployeeActions API and it provides all users to perform CRUD (Create, Read, Update, Delete) operations on their data.
In this project we mainly used 2 fundamental microservice patterns:
- The Simple Web Service
- The Simple GraphQL Service
The AWS services that we used for PurpleHR include:
Let’s take a closer look at these serverless microservice patterns:
1) The Simple Web Service
The Simple Web Service is the fundamental and most popular pattern for developing AWS serverless architecture-based projects. The Simple Web Service uses AWS Lambda for core logic, an API Gateway, and a data source that Lambda will use to perform operations on application data. The third part of the pattern can change according to business logic demands. You can use NoSQL or SQL Database System, or you can use any other service for implementing your needs.

This example uses AWS Cognito Service as the third part of the pattern.
2) The Simple Graphql Service
If you decide to work with GraphQL APIs, this pattern will provide you with the basic architecture. It uses AWS AppSync Service to maintain your GraphQL API. AWS AppSync is a fully managed AWS service that makes it easy to develop GraphQL APIs by securely connecting to your data source.

This example uses AWS’s NoSQL database solution Amazon DynamoDB.
We will walk through this application in two steps. We will start with the implementation of AdminActions API and dive into the Authentication and Authorization processes. Multiple tenants are using our app such as Admins, Developer Teams, etc. Each Tenant will have different permissions to perform different operations. Actions are permitted only to authenticated users without any public interaction with the application. Team users can use sign-in and sign-out functionalities while Admins can perform create, update, enable user, and disable user operations.
In this blog post, we will be investigating specifically these Admin operations and we will be using Amazon Cognito as an identity service. Our business logic functions will be in AWS Lambda, written in NodeJS, using Express Framework and API Gateway for authenticating and routing client requests to AWS Lambda.
In the next blog post, we will talk about EmployeeActions API which is used for storing employee information and profile actions such as updating certifications, hobbies, etc. We will be focusing on AWS AppSync and AWS DynamoDB services for managing employee information.
Before we start, please beware that this article assumes you have a basic understanding of instrumenting ReactJS applications using Facebook’s popular template, create-react-app, and AWS serverless application development framework, called Amplify.
This article may interest you: The Complete Guide to Implement Social Login With AWS Amplify
Implementing Admin Actions API using The Simple Web Service Pattern
1) Setting Up AWS Cognito and Connect with Front End Application
We are using Amazon Cognito for the Authentication and Authorization of our app. Our users can perform sign-in, and sign-out operations, and our admins can perform create, update, delete, disable, and enable operations on all tenants.
We have a Cognito User pool for registering our employees to PurpleHR as individual Cognito users. We also have Cognito Identity Pool for giving temporary access to our users for AWS services. We have these groups underneath our Cognito User Pool. We have 4 main Teams in our company:
- DevOps
- GRC
- Marketing
- Security
So, we have corresponding AWS Cognito User Pool groups based on our company structure.

Custom Cognito Groups under Cognito Pool
We are using the AWS Amplify Auth module to connect our backend resource (AWS Cognito) with our Front-End Application (ReactJS). Here are some sample codes to check the status of the signed user:
import React, { createContext, useEffect, useState } from react;
import { Auth, Hub } from aws-amplify;

export const UserContext = createContext();

export const UserContextProvider = (props) => {
  const [user, setUser] = useState(null);
  const [groupType, setGroupType] = useState(null);

  useEffect(() => {
    checkUser();
    Hub.listen(auth, ({ payload: { event, data } }) => {
      switch (event) {
        case signIn:
          checkUser();
        case signOut:
          setUser(null);
          setGroupType(null);
          break;
        default:
          return;
      }
    });
  }, []);
  async function checkUser() {
    try {
      const resultUser = await Auth.currentAuthenticatedUser();
      setUser(resultUser);

      setGroupType(
        resultUser.signInUserSession.accessToken.payload[cognito:groups][0]
      );
      getDbUser(resultUser);
    } catch (error) {
      console.log(error);
    }
  }
  return (
    <UserContext.Provider value={{ user, groupType }}>
      {props.children}
    </UserContext.Provider>
  );
};
UserContext.js
In this piece of code, we manage 2 component states:
- User
- GroupType
We store the response of currentAuthenticatedUser() in the global context of our ReactJS App; so that all components can access the signed-in user data. We also have a custom Cognito Group attribute in users’ accessToken. Group information is also stored in context for creating protected routes on the client side. So, every tenant will see their routes and no one can access other teams’ private pages.
Also see: The Ultimate Guide for Broken Authentication
2) Lambda Function Using NodeJS and Express Framework
After successfully creating your Cognito resource, we need somewhere to run our function code. In this part, AWS Lambda comes in. With Lambda, you can run your code without worrying about the underlying infrastructure. First, we need to set up our Express Server for AdminActions.
const awsServerlessExpress = require(aws-serverless-express);
const app = require(./app);

const server = awsServerlessExpress.createServer(app);

exports.handler = (event, context) => {
  console.log(`EVENT: ${JSON.stringify(event)}`);
  awsServerlessExpress.proxy(server, event, context);
};
index.js
Then, we need to configure our Express App
- First, we need to Enable CORS because we will get requests from our front-end application for this function. For this reason, we will use a different domain to send requests.
// Enable CORS for all methods
app.use((req, res, next) => {
  res.header(Access-Control-Allow-Origin, *);
  res.header(
    Access-Control-Allow-Headers,
    Origin, X-Requested-With, Content-Type, Accept
  );
  next();
});
app.js
- Then, we should ensure that only users in the Admin Group can access these routes with the checkGroup() function. This function reads the request coming from APIGateway and if requestContext contains Admins group, it allows you to reach all routes.
// Only perform tasks if the user is in a Admins group
const allowedGroup = process.env.GROUP;

const checkGroup = function(req, res, next) {
  if (req.path == /signUserOut) {
    return next();
  }

  if (typeof allowedGroup === undefined || allowedGroup === NONE) {
    return next();
  }

  if (req.apiGateway.event.requestContext.authorizer.claims[cognito:groups]) {
    const groups = req.apiGateway.event.requestContext.authorizer.claims[
      cognito:groups
    ].split(,);
    if (!(allowedGroup && groups.indexOf(allowedGroup) > -1)) {
      const err = new Error(
        `User does not have permissions to perform these tasks`
      );
      next(err);
    }
  } else {
    const err = new Error(
      `User does not have permissions to perform these tasks`
    );
    err.statusCode = 403;
    next(err);
  }
  next();
};
app.all(*, checkGroup);
app.js
- This is a route example in Express. This piece of code includes 2 operations: Creating and Deleting Users. Admin Client makes a post request to our endpoints and we redirect that request to the corresponding function code in CognitoAction.js.
const express = require(express);
const bodyParser = require(body-parser);
const awsServerlessExpressMiddleware = require(aws-serverless-express/middleware);

app.post(/createUser, async (req, res, next) => {
  if (
    !req.body.username ||
    !req.body.email ||
    !req.body.groupname ||
    !req.body.phone_number
  ) {
    const err = new Error(
      username ,email,groupname and phone_number is required
    );
    err.statusCode = 400;
    return next(err);
  }

  try {
    const response = await createUser(
      req.body.username,
      req.body.email,
      req.body.groupname,
      req.body.phone_number
    ).then(() => addUserToGroup(req.body.username, req.body.groupname));
    res.status(200).json(response);
  } catch (err) {
    next(err);
  }
});
app.post(/deleteUser, async (req, res, next) => {
  if (!req.body.username) {
    const err = new Error(username  is required);
    err.statusCode = 400;
    return next(err);
  }
  try {
    const response = await deleteUser(req.body.username);
    res.status(200).json(response);
  } catch (err) {
    next(err);
  }
});

app.listen(3000, () => {
  console.log(App started);
});

module.exports = app;
app.js
- Here is our example createUser async function in Actions.js:
async function createUser(username, email, groupname, phone_number) {
  const params = {
    UserPoolId: userPoolId,
    Username: username,
    DesiredDeliveryMediums: [EMAIL],
    UserAttributes: [
      {
        Name: email,
        Value: email,
      },
      {
        Name: email_verified,
        Value: true,
      },
      {
        Name: custom:group,
        Value: groupname,
      },
      {
        Name: phone_number,
        Value: phone_number,
      },
    ],
  };

  console.log(`Attempting to create ${username} with ${email}`);

  try {
    const result = await cognitoIdentityServiceProvider
      .adminCreateUser(params)
      .promise();
    console.log(`Success creating ${username} with ${email}`);
    return {
      message: `Success creating ${username} with ${email}`,
    };
  } catch (err) {
    console.log(err);
    throw err;
  }
}
Actions.js
Also see: Introduction to AWS Serverless Application Model
3) Creating Authenticated Rest API with Amazon APIGateway
After writing our function codes in AWS Lambda, we need a way to connect our front-end requests to that function. In this part, APIGateway comes in. With APIGateway we can create our custom RESTful APIs.
- AdminActions API must be accessible only to our users. So, we must add Authorizers to our API. We choose Cognito User Pool for auth type and select the user pool that we created in the first part.

APIGateway Cognito User Pool Authorization
After successfully creating our APIGateway, we must add a trigger to our Lambda Function and then choose the newly created API as a parameter.
To connect our API with our ReactJS front-end application, we are using the AWS Amplify API module. This piece of code contains a logic that integrates our client-side request with API and then, APIGateway triggers our Lambda function.
import React, { useState, useEffect, useContext, useMemo } from 'react'

import { Auth, API, graphqlOperation } from 'aws-amplify'

const App= () => {

  const { user } = useContext(UserContext)
  const [users, setUsers] = useState([])
  const [singleUser, setSingleUser] = useState(initialSingleUser)
  const [isAdmin, setIsAdmin] = useState(
    user.signInUserSession.accessToken.payload['cognito:groups'][0] === 'Admins'
      ? true
      : false
  )
  useEffect(() => {
    let unmounted = true
    if (unmounted) {
      getUsers()
    }

    return () => {
      unmounted = false
    }
  }, [])

  useEffect(() => {
    currentPage !== page && setPage(currentPage)
  }, [currentPage, page])


  async function createUser(username, email, groupname, phone_number) {
    let apiName = 'AdminQueries'
    let path = '/createUser'
    let myInit = {
      body: {
        username: username,
        email: email,
        groupname: groupname,
        phone_number: phone_number,
      },
      headers: {
        'Content-Type': 'application/json',
        Authorization: `${(await Auth.currentSession())
          .getAccessToken()
          .getJwtToken()}`,
      },
    }
    return await API.post(apiName, path, myInit)
  }

  return (
    ...
  )
}

export default App
App.js
- As an additional security step, we also need to control the user group attributes in front-end requests. If the user’s access Token payload does not contain an Admin group, they cannot perform that request.
- As you know, we add an Authorizer to our APIGateway API referencing our Cognito User Pool. Because of that, we are sending an Authorization header that contains the current user’s JWT Token from User Pool to make successful requests.

PurpleHR Admin Dashboard
We have successfully created a microservice for our PurpleHR application using The Simple Web Service pattern.
Conclusion
Today, we explored two fundamental microservice patterns, The Simple Web Service and The Simple GraphQL Service, and how they were implemented in a project for our human resources application called PurpleHR. By leveraging AWS services such as Cognito, Lambda, API Gateway, AppSync, and DynamoDB, we were able to create custom REST and GraphQL APIs, as well as perform authentication and authorization operations for specific user groups.
In our next blog post on this topic, we focus on EmployeeActions API by creating our data source and GraphQL API for storing employee data. Click here to read it now.
For those interested in implementing similar microservice patterns in their own projects, we encourage you to learn more about AWS services and how they can be integrated into your architecture. And for those concerned about the security of their applications, we at PurpleBox offer a range of DevSecOps services to help you protect your systems against cyber threats.
Contact us today to learn more about how we can help secure your applications and infrastructure.